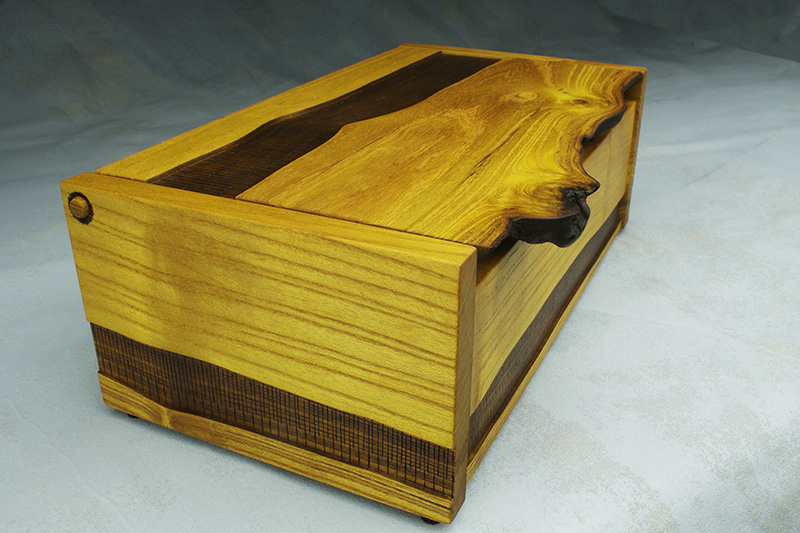
For me as an artist, the story behind a piece is almost as important as the piece itself. This is the story of how this mulberry box came into being…
The mulberry used to create this box was rescued from English Landing Park in Parkville, MO following a microburst that came up the Missouri River in March 2010. The storm had winds of over 100 MPH and blew down many trees. I made arrangements with the Parks Superintendent to take possession of the tree and had it delivered to my mill where it was planked and kiln dried. I was intrigued by the bold yellow coloring of the wood. As it ages the intense yellow color will mellow to a warm, golden brown. This is one of the first projects I made using this beautiful, uncommon wood.
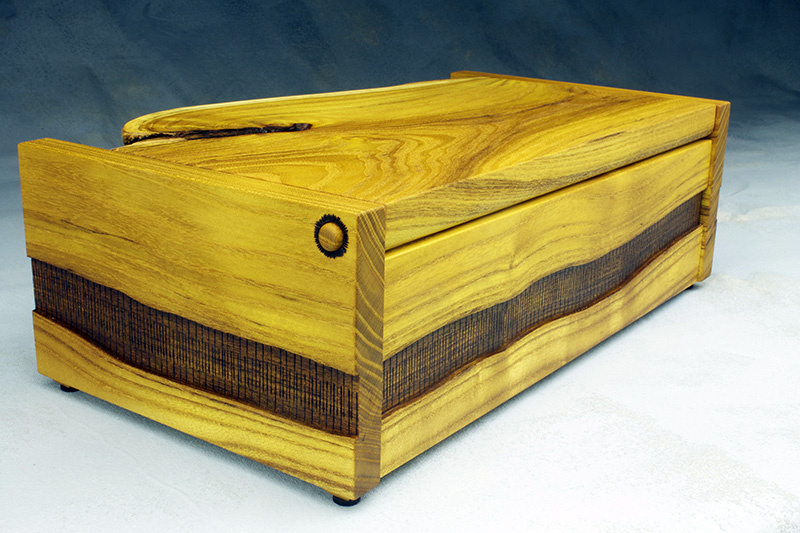
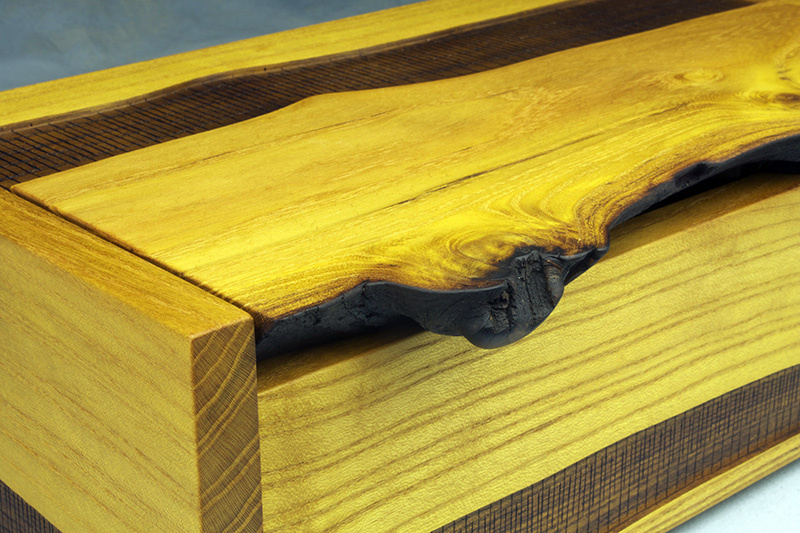
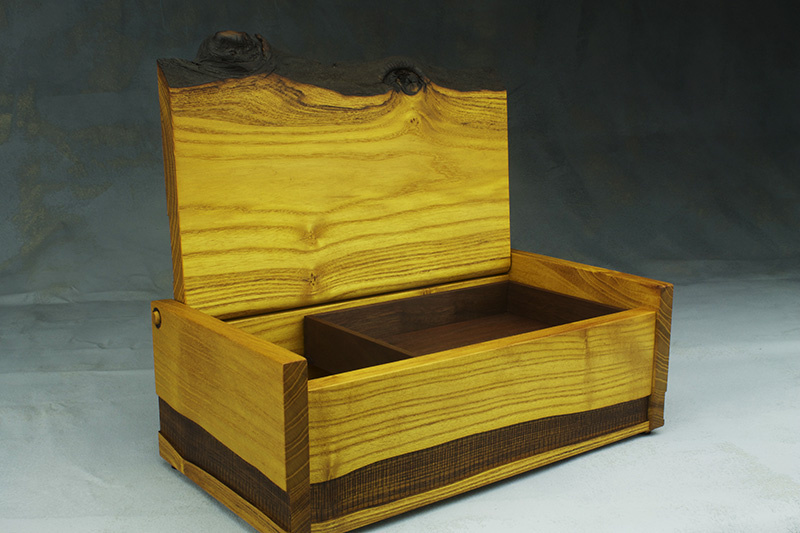
All the wood used in the box came from this mulberry tree — the sides, the bottom panel, the lid and the pivots for the lid. Each side of the box was cut sequentially from a plank of wood so that the grain flows harmoniously around the box. For the lid, I selected this particular part of a plank so that the natural edge of the log could serve as the handle. I knocked off the loose bark, wire brushed the edge, then shaped and sanded till I was happy with the look.
The box body was constructed using traditional mortise and tenon joinery. I made the bottom out of solid mulberry, rather than plywood used for most boxes. To make the bottom, I sliced a thick piece of mulberry into two thinner pieces, ‘book matched’ them, joined them and cut the panel to its final size. To make the pivots, I first made a long narrow square of wood. I used a hand plane to turn the square into an octagon. I used the plane and sandpaper to turn the octagon into a dowel. Finally, I cut the pivots to length and shaped the ends. To embellish the box, I decided to carve ‘troughs’ into the sides and lid. I used grain lines to determine placement and shaping of the troughs, wanting them to be informed by the wood itself rather than be imposed upon it. I used a technique called pyrography (wood burning) to cut in the vertical lines, again using the grain as a guide to determine where to terminate the lines. I chose a brown leather gel-stain to blend with natural colors found in the wood grain. The final shaping of the box body and lid was done by hand. I prefer to do the final sanding, shaping, rounding over of sharp edges, etc., by hand rather than using some sort of power tool. This is when I can get up close and personal with the wood and see its beautiful grain emerge as I sand with finer and finer grit papers. I also like the slight variations that tell you this item is hand crafted rather than made impersonally, at a distance, with power tools. Finally, I finished the box by saturating it in three coats of Tried and True wood finish and hand rubbed it to a soft luster.
~kelly


